I have recently been on a Yubikey kick lately and have been finding ways to enable it on my devices. If you want to use Yubikeys for ssh authentication, this quick walkthrough will show you how to set it up on Ubuntu.
This file contains hidden or bidirectional Unicode text that may be interpreted or compiled differently than what appears below. To review, open the file in an editor that reveals hidden Unicode characters.
Learn more about bidirectional Unicode characters
Using your editor of choice, modify /etc/ssh/sshd_config.
This file contains hidden or bidirectional Unicode text that may be interpreted or compiled differently than what appears below. To review, open the file in an editor that reveals hidden Unicode characters.
Learn more about bidirectional Unicode characters
You’ll want to add/modify the following lines to be reflected in your file.
This file contains hidden or bidirectional Unicode text that may be interpreted or compiled differently than what appears below. To review, open the file in an editor that reveals hidden Unicode characters.
Learn more about bidirectional Unicode characters
Save and exit the file editor once this is complete.
Update pam.d sshd
This file contains hidden or bidirectional Unicode text that may be interpreted or compiled differently than what appears below. To review, open the file in an editor that reveals hidden Unicode characters.
Learn more about bidirectional Unicode characters
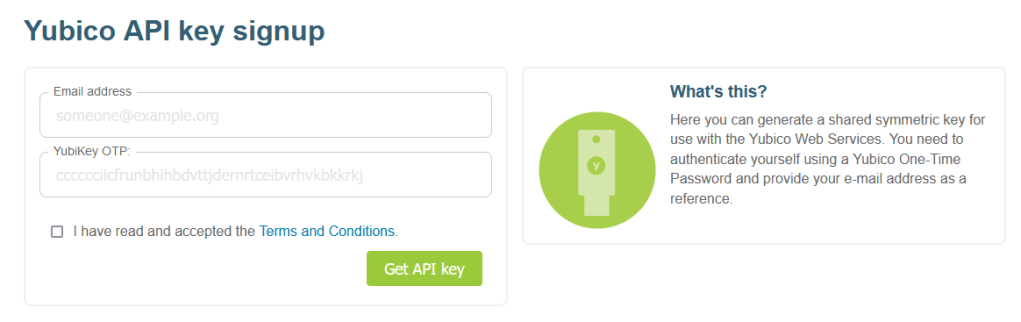
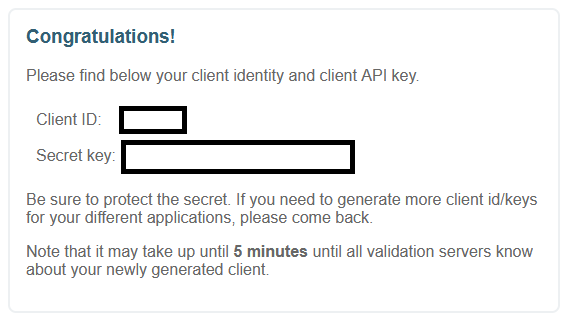
Using the Client ID and Secret key obtained from Yubico, add the following at the top of your file.
This file contains hidden or bidirectional Unicode text that may be interpreted or compiled differently than what appears below. To review, open the file in an editor that reveals hidden Unicode characters.
Learn more about bidirectional Unicode characters
Save and exit the file editor once this is complete.
Create Yubikey Authfile
This file contains hidden or bidirectional Unicode text that may be interpreted or compiled differently than what appears below. To review, open the file in an editor that reveals hidden Unicode characters.
Learn more about bidirectional Unicode characters
This file will be used to specify which users and key(s) will be used. For each line of the file, add your desired user and the first 12 characters produced by your yubikey when pressed. Consider the following example mappings file:
This file contains hidden or bidirectional Unicode text that may be interpreted or compiled differently than what appears below. To review, open the file in an editor that reveals hidden Unicode characters.
Learn more about bidirectional Unicode characters
This setup has two users setup to use yubikeys. user can be authenticated with only one key. user2, however, can be authenticated with two separate keys. To add additional keys, simply extend the colon separated 12-character values for your keys.
Advertisements
Restart Service
Warning: Once this is complete, I highly recommend you do not close your current session. I would recommend opening another terminal and testing your authentication works as expected to avoid locking yourself out.
This file contains hidden or bidirectional Unicode text that may be interpreted or compiled differently than what appears below. To review, open the file in an editor that reveals hidden Unicode characters.
Learn more about bidirectional Unicode characters
To verify everything worked, ssh into your box and you should be prompted to enter both Yubikey and Password.
Conclusion
You may have noticed that this tutorial has you setting up Yubikey + Password for authentication. I personally prefer to require password + Yubikey for authentication on my systems, however, everyone’s risk tolerance is different. If you want to modify this setup to only authenticate with Yubikey, you can do that by disabling the password authentication in your sshd configuration.
Another thing worth mentioning is that if you’re planning to use Yubikeys, you should look into having backups stored in safe locations. This is a good idea in the event that you lose your primary Yubikey.