In today’s digital landscape, maintaining the integrity and security of our data has become paramount. GPG (GNU Privacy Guard) keys are cryptographic keys that provide a robust solution for verifying the authenticity of digital information. In this article, we will delve into the significance of GPG keys and focus specifically on how they can be utilized to verify your GitHub commits, enhancing trust and ensuring the integrity of your codebase.
Understanding The Basics
GPG keys utilize asymmetric encryption to secure data. They consist of a pair of keys: a public key, which can be shared with others, and a private key, which must be kept confidential. When someone wants to send you an encrypted message or verify your identity, they can use your public key. However, only you possess the private key necessary to decrypt the encrypted message or sign digital information.
Creating a Master Key
To create a master key and subkeys, we will utilize the gpg --full-generate-key command. Follow these steps in a terminal:
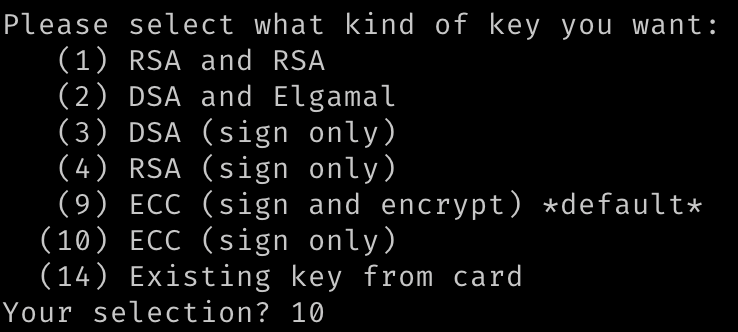
1. gpg --full-generate-key
2. Select option (10) for ECC (sign only). Other functionality will be created in our subkeys later.
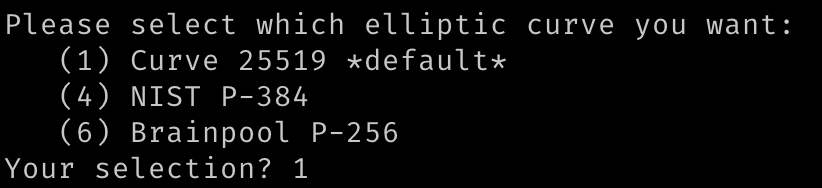
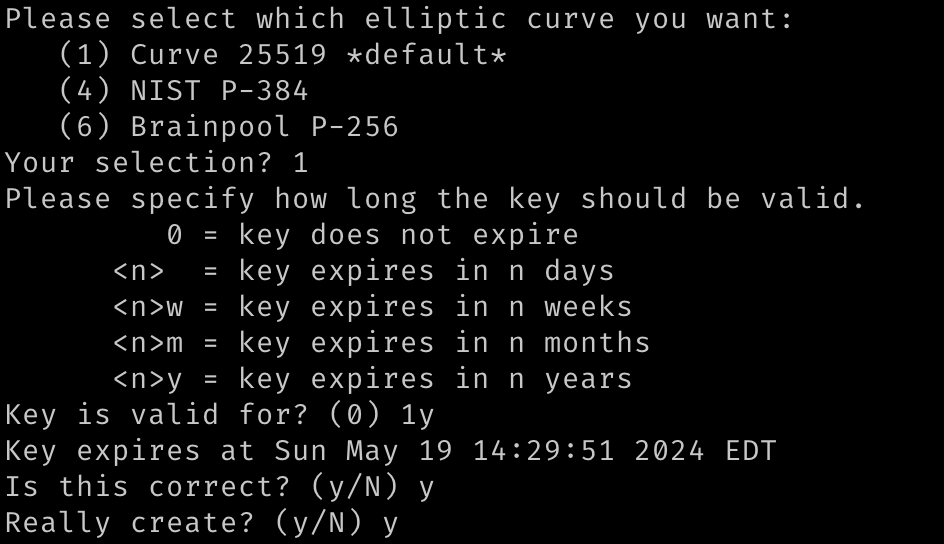
3. Select default (1) is fine.
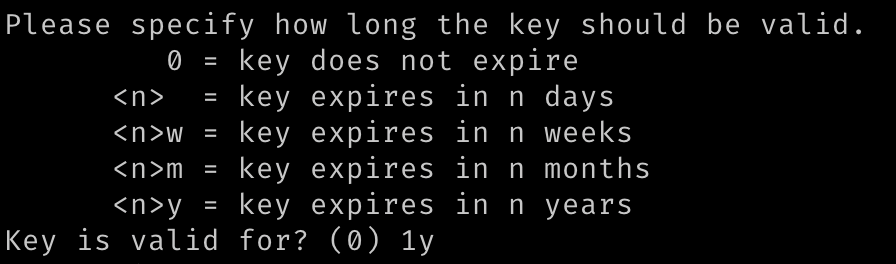
4. If you’re unsure about expiration, choose 1y for now.
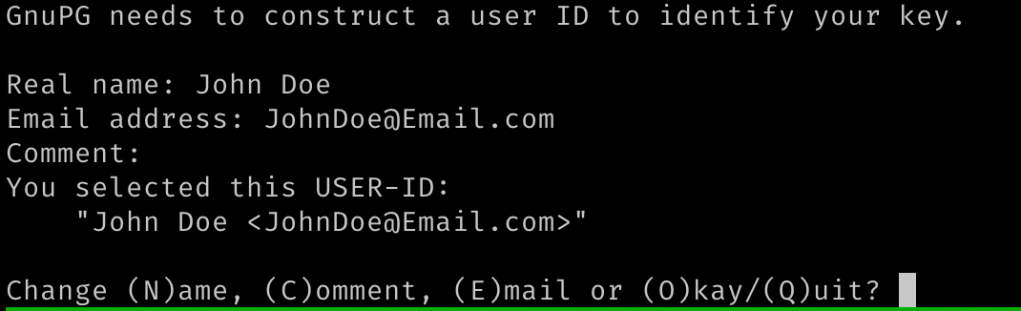
5. Next, provide user ID information. Keep in mind that the information provided here will need to eventually be associated with our GitHub account.
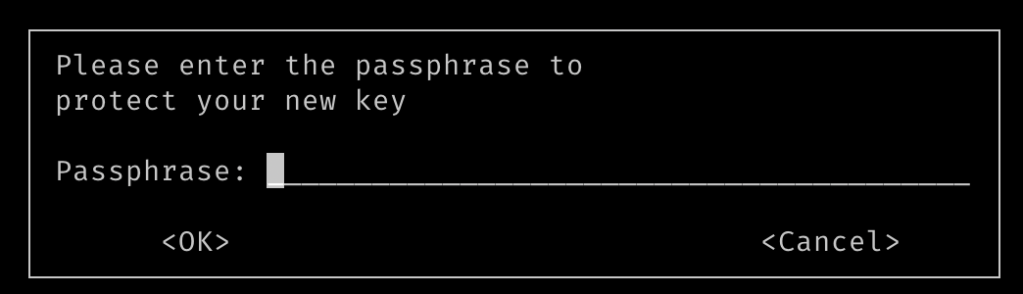
6. Provide a secure password.
7. Finally, we can verify that we successfully generated our keys by running:gpg --list-secret-keys --keyid-format=long

For referencing this key, we will use the keyid value: 5C21C828BBC6D76A74A2C0E9C3DB4E3B8C6022EC
Creating a Subkey
1. gpg --edit-key 5C21C828BBC6D76A74A2C0E9C3DB4E3B8C6022EC
2. gpg> addkey
3. Select (10) to generate a subkey that we will use for signing

4. Fill out the rest of the subkey information. I just used similar information to what we used previously
5. gpg> save
6. After saving, we can verify that our subkey has been created by again checking our keys list with gpg --list-secret-keys --keyid-format=long

Backing up your keys!
Feel free to repeat the previous section to generate as many subkeys as you’d like. After you’re done, this is generally a good time to start creating backups. We can quickly do so with the following:
gpg --output johndoe.public.gpg --export 5C21C828BBC6D76A74A2C0E9C3DB4E3B8C6022EC
gpg --output johndoe.secret.gpg --export-secret-key 5C21C828BBC6D76A74A2C0E9C3DB4E3B8C6022EC
gpg --output johndoe.secsub.gpg --export-secret-subkeys 5C21C828BBC6D76A74A2C0E9C3DB4E3B8C6022EC
I would recommend saving these newly generated files to somewhere safe like a USB drive that will be kept offline. Especially before the next steps when we delete our secret keys!
Delete Secret Keys
gpg --delete-secret-keys 5C21C828BBC6D76A74A2C0E9C3DB4E3B8C6022EC
Import Sub Keys
gpg --import johndoe.secsub.gpg
Verify key setup
After following the previous steps, you should now have deleted your master key and only have your sub keys imported. We can verify this again by running: gpg --list-secret-keys --keyid-format=long

You may notice that there is a # in front of sec#. This indicates that our secret is not currently imported. This is exactly what we want and we should store it somewhere safe and offline.We should only import it when we need to do any management of our keys.
Adding Subkey + Email to GitHub
1. Export your subkey via it’s keyid. In the above, we will export our signing key using the ed25519/XXXXXXXXXXX value:gpg --armor --export 129716A133786B25
2. Copy the output from step 1.
3. Login to GitHub
4. Go to “SSH and GPG Keys”
5. Under GPG Keys, click “New GPG Key”
6. Add any title you want and paste the output from step 1.
7. If you haven’t done so already, go to your GitHub Email settings and add the email you used for your GPG key user ID.
Adding Subkey to GitHub Project
How you handle this is up to you. Personally, I prefer to set my GitHub config on a per-project basis. So depending on your personal preferences, you may want to either add/remove --local to the upcoming git config commands to modify your local repository git settings or your global git settings.
1. Navigate to a project you want associated with this key in your terminal.
2. git config --local user.email JohnDoe@Email.com
3. git config --local user.signingkey 129716A133786B25!
NOTE: This should be the ID for your subkey. Don’t forget to include the EXCLAMATION POINT (!) at the end to indicate to GitHub that you’re using a subkey.
Sign Your Commits
You can manually sign your commits with the ‘-S’ option:git commit -S -m "Test"
Or you can set your config to automatically sign with:git config --local commit.gpgsign true
Test Commit
When everything is done, just create a new commit and push it up to your repo. If you’ve done everything successfully, you should see a “Verified” tag on your commit!

Liked this post?
If you liked this post, consider buying me a cup of coffee!